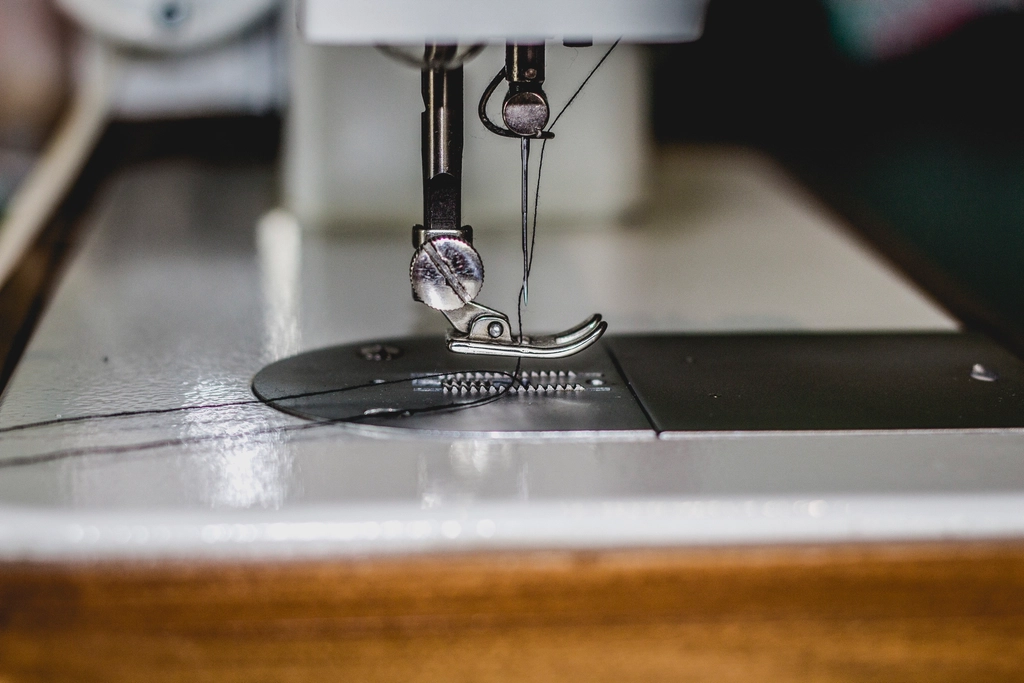
How to Start a Sewing Machine Repair Business From Home
Sewing machines are everywhere: in quilters’ studios, costume shops, school classrooms, alteration businesses and the closets of people who inherited a parent’s machine and can’t get it to stitch. Many of those machines just need cleaning, oiling and adjustment, and finding someone to do that work is not always easy. That gap is the opening for a home-based sewing machine repair and service business.
This guide covers what the work involves, how people learn it, the tools and space you’ll need, how to approach pricing, and how to find your first customers. Prices quoted are examples gathered in October 2026.
What sewing machine service involves
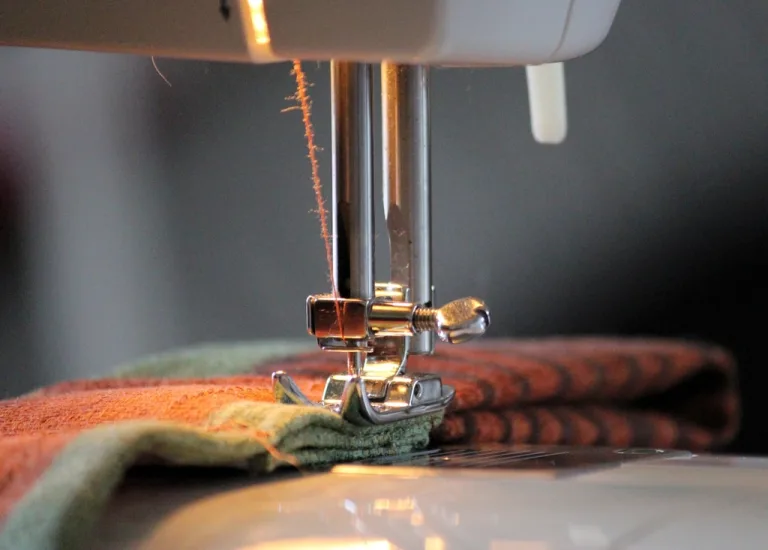
Most jobs fall into a few groups. According to Bsewinn, a sewing machine retailer, a standard tune-up includes cleaning lint out of the interior, oiling moving parts, checking and adjusting thread and bobbin tension, inspecting belts and the motor, and making sure the timing is correct. Beyond tune-ups come repairs: timing that has slipped after a needle strike, worn or broken parts, motor problems and, on computerized machines, electronic faults.
The machines themselves vary enormously. All-metal vintage machines are largely mechanical and very repairable. Modern computerized models have plastic covers that must be removed carefully, circuit boards and brand-specific parts. Sergers, embroidery machines and industrial machines are specialties of their own. Many independent technicians start with mechanical and common household machines, then add others as their skills and parts sources grow.
Learning the trade
There is no single required credential for this work. VDTA, a trade association for sewing and vacuum dealers, describes several ways technicians typically learn:
- Structured training, such as in-person sessions on service, troubleshooting and timing
- Apprenticeships or internships with an experienced technician, which usually expect some service basics first
- Older service manuals and publications, which remain useful because the core mechanics haven’t changed much
- Practice on your own machines, then on machines belonging to friends, family and local sewing groups
One example of formal training is the Sewing Doc Academy, which offers online courses on caring for modern machines, vintage machine restoration and running a repair business, along with a certification program. A VDTA article listed in-person sessions with the academy at $325 for a six-hour service and adjustment class and $275 for a three-hour timing class (2025 pricing). The academy notes that its courses don’t cover commercial or industrial machines, embroidery-only machines, sergers, or some newer models that require proprietary tools, which is a useful reminder that some brands are hard to service independently.
Plan to buy a few inexpensive used machines to practice on. Taking them apart and putting them back together is the fastest way to learn how timing, tension and feed systems work.
Tools, parts and workspace
Tools
Expect to build up a set of good screwdrivers in many sizes (including short and offset ones), small wrenches, needle-nose pliers and tweezers, lint brushes, a small vacuum, sewing machine oil, grease suitable for gears, a supply of needles, test fabric in several weights, and good magnification. Service manuals for the models you work on are worth collecting, too.
Parts
Common replacement parts include belts, bobbin cases, hooks, feed dogs, presser feet, light bulbs and foot controls. Keep a small stock of the parts you replace most, and find reliable suppliers for the rest. For newer machines, some parts are only available through authorized dealers, which can limit what you can fix.
Workspace
A spare room or a clean, well-lit section of a garage works. You need a sturdy bench at a comfortable height, bright task lighting, shelving to hold customer machines with clear tags, and a test-sewing station. Keep the space dry and reasonably warm, since oil, plastics and electronics don’t like damp or freezing conditions. Store customer machines off the floor and away from car exhaust and workshop dust.
Safety
- Always unplug a machine before opening covers or working near the needle or belt
- Watch for old wiring and cracked foot-control cords on vintage machines; if you’re not qualified to rewire, send that work to someone who is
- Use safe lifting technique and a cart for heavy all-metal machines and cabinets
- Remove or cover needles when moving machines around the bench
Pricing your work
Published prices give a sense of the range. Bsewinn puts most service at about $50 to more than $100, with a basic tune-up and cleaning around $50–$85, tension adjustment around $60–$95, timing work around $75–$125, motor replacement from about $100 to $200 or more and computerized board repair from about $150 to $300 or more. Some shops price much higher: AllBrands, a sewing machine retailer, listed minimum repair charges of $199.99 for mechanical machines, $299.99 for electronic machines and $399.99 for industrial machines, plus parts and shipping, as of October 2026.
Your local market matters more than national averages. Call a few dealers and independent technicians near you to see what they charge and how long their wait times are. Many independent technicians use a flat rate for a standard tune-up and quote repairs after diagnosis. Our article on flat-rate versus hourly pricing, linked below, covers how to set that up.
A few practical pricing tips:
- Charge a diagnostic or bench fee that is credited toward the repair if the customer goes ahead
- Get approval before doing any work beyond the quoted amount
- Tell customers up front when a repair may cost more than the machine is worth
- Set a storage policy for machines that aren’t picked up
A simple workflow
- Intake: record the make, model, serial number, the customer’s description of the problem and any accessories left with the machine
- Diagnose and quote: test-sew, identify the fault and call the customer with a price and timeline
- Service and repair: clean, oil, adjust and replace parts as approved
- Test: sew on several fabrics and stitch types, and save a sample to show the customer
- Pickup: explain what you did, give basic care tips and suggest when the next service is due
Bsewinn suggests that hobbyists who sew a few times a month service their machines every one to two years, while daily sewists and small businesses benefit from an annual tune-up. A simple reminder list of past customers can turn one-time jobs into repeat work.
Finding your first customers
VDTA suggests building a track record by servicing machines for friends, family and local sewing groups, sometimes at a discount in exchange for referrals. From there, consider:
- Quilting guilds and sewing clubs, which often welcome a short talk on machine care
- Fabric and quilt shops that don’t offer service themselves
- Schools, theater departments and community centers with classroom machines
- Alteration, upholstery and costume businesses that rely on their machines daily
- A Google Business Profile and listings in local community groups
Business basics
VDTA notes that running your own service business brings independence and flexible scheduling but also requires marketing, customer service and bookkeeping skills, while working in a dealer’s service department offers steadier work and exposure to many machines. Some people do the second to gain experience before starting the first.
If customers drop off and pick up machines at your home, check your local home-occupation rules on visitors, parking and signs. You may need a local business license, and some states charge sales tax on parts or repair labor. Ask your insurer whether customer property in your care is covered; a homeowner’s policy often isn’t designed for that. Rules vary by state, county and city, so check locally or with a professional.
More on Garage Business Blueprint
- Flat Rate or Hourly? How to Price Jobs in a Garage Repair Business
- How to Start an Upholstery Business From Your Garage
- How to Start a Phone and Electronics Repair Business From Home